Finished assembling the X-Stage

Tips for others:

  • I thought I was smart when I got a shorter M5 for the idler pulley (I had a M5x40 that I tried to use instead of cutting the M5x45) screw (instead of cutting it down) – however it was not threaded as long as the longer screw so it didn’t fit under the X cap. If you think of using a shorter screw, verify that it will fit under the X cap.

The only problem I ran into (apart for the screw) was that when I made sure there was 1 mm clearance between the drive pulley and the motor the timing belt was not level with neither the Y-stage nor the idler pulley. I moved the drive pulley several mm’s up until it was level with the rest.
That was not a major problem as it was easy to reposition it, but it was time consuming to get the drive pulley to be 1 mm above the motor.

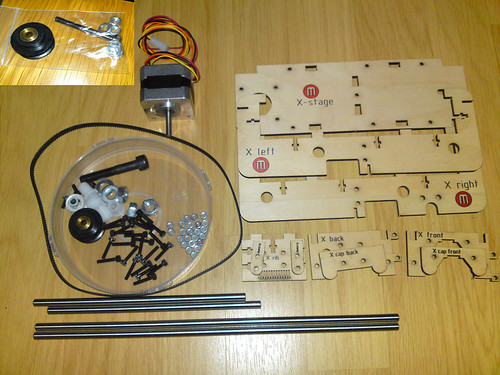
The parts laid out:

x-stage parts

The parts for the X-Stage laid out.
The big screw is not the right one, the small image is with the right screw (before it was cut down to size)

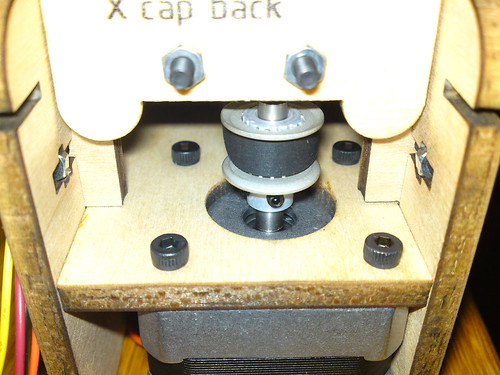
Some construction images:
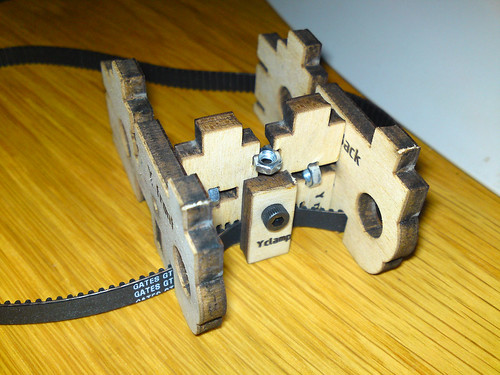
X-Stage construction
X-Stage idler pulley

x-stage construction

The drive pulley on the motor shaft.

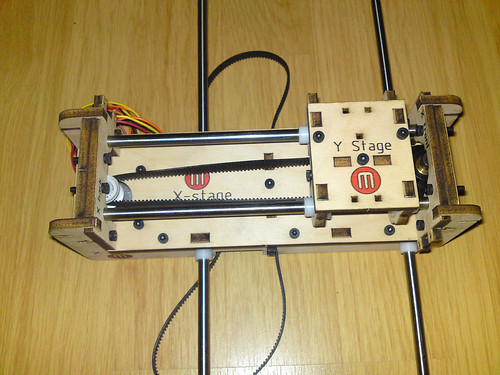
And the completed assembly:
x-stage complete

Finished building the Y-stage

This part was very simple and straight forward.

The only two problems I ran into while making the Y-stage was

  • That I did not know what “Flanged bearings” were – and it took me a while to find the <a href="part lists in the subversion archive. Once I had that it was simple to find a data sheet with a drawing on it.
  • [not MakerBot related] The lid for the superglue bottle had been glued to the plastic below. Had to find a Tongue-and-groove pliers to get it unstuck

Tips for other builders:

  • Try to insert the magnets from both sides before finding a small file to make the holes larger
  • If you are unsure what the part you are looking for should look like, consult the part list and the try to find a drawing of it – if you live in a country that isn’t native English speaking there is little point trying to ask others; unless they have made a MakerBot or similar before.
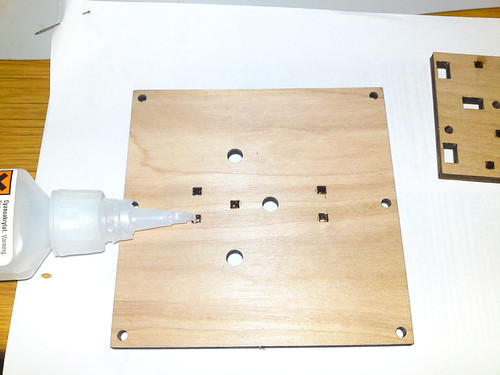
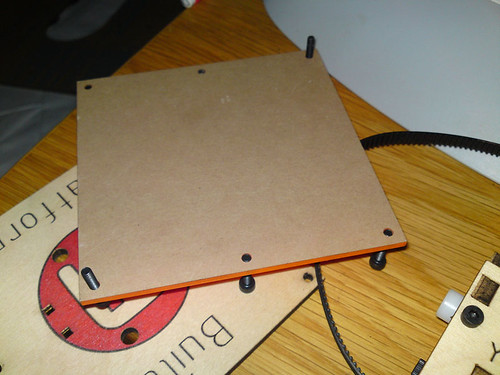
  • When adding the acrylic build surface to the wood start with the two screws that are diagonally to each other (if you would start with one side there is a rather large chance that the last screws won’t line up correctly) [see construction picture 3]
  • When putting in the last magnets, using a plastic plier (or some other non magnetic item) is easier than using a hex key 😉

Some images from the process:
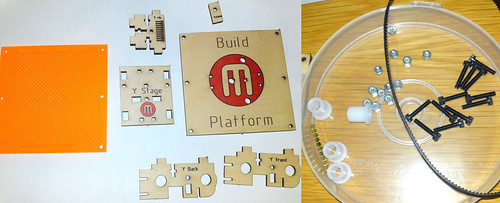
All parts laid out before:

y-stage_parts

The flanged bearings are the white "tubes with a lip on"

Construction images:
y-stage_construction_1
y-stage_construction_2
y-stage_construction_3

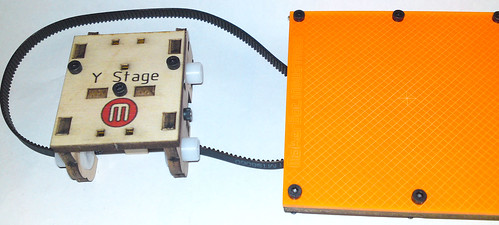
Final result:
y-stage_construction_completed

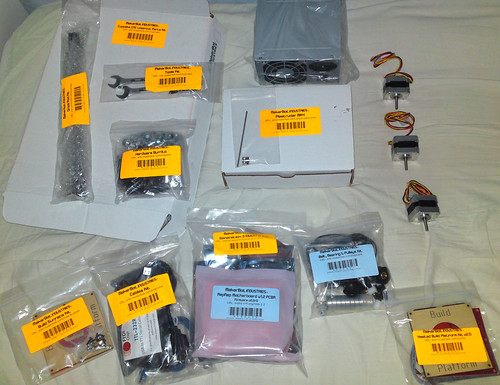
Arrival of MakerBot

Got my MakerBot in the mail.
It is made in batch XVI (hint the batch number is etched into the wooden parts, unlike the serial number it is not printed on a label)

Decided I should name it Fermat (in honor of Pierre de Fermat)
Also stared reading the build instructions and consider if I should paint it or not … the decision is to not paint it for now, maybe try to give it some protective lacquerer later on (not a optimal plan – if you know you want to paint your – do it before starting assembly).

Important: If you have gotten a kit that includes a power supply. Make sure you verify that it is set for the correct operating voltage – if not you will release the magical blue smoke from it.

All parts of the MakerBot (deluxe kit, no plastics plus a heated build platform and a extra Plastruder MK 5 gear upgrade kit) laid out on my bed:
fermat_parts_unpacked